Lightpainting is where the rubber hits the road as far as your own artistic style is concerned. It is where you have the opportunity to turn something quite ordinary into something extraordinary.
Consider the images below:
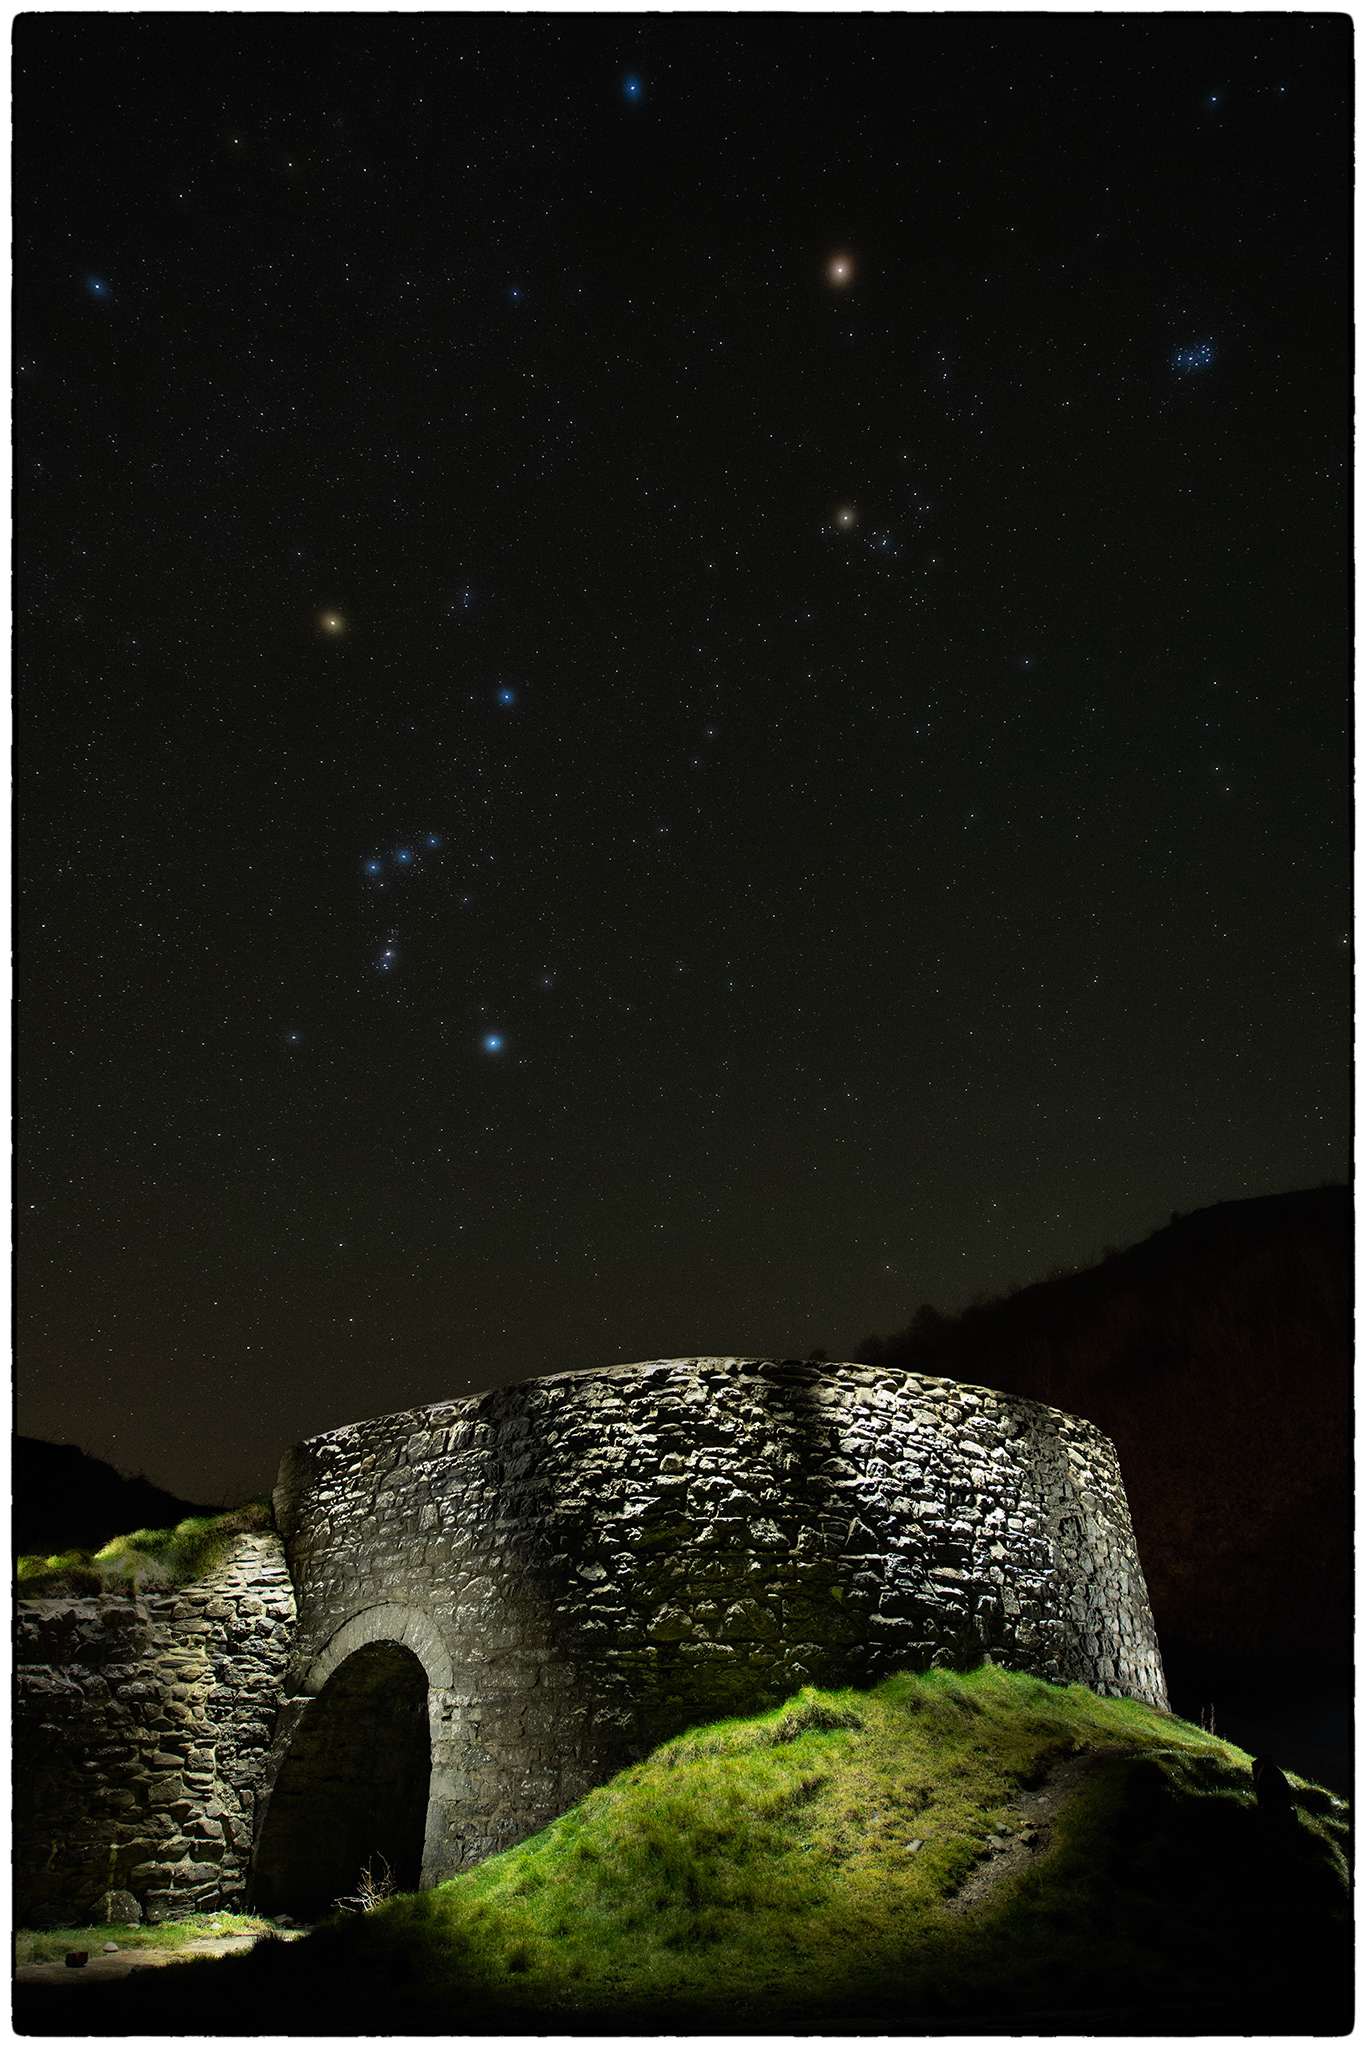
Lime Kiln under the Stars
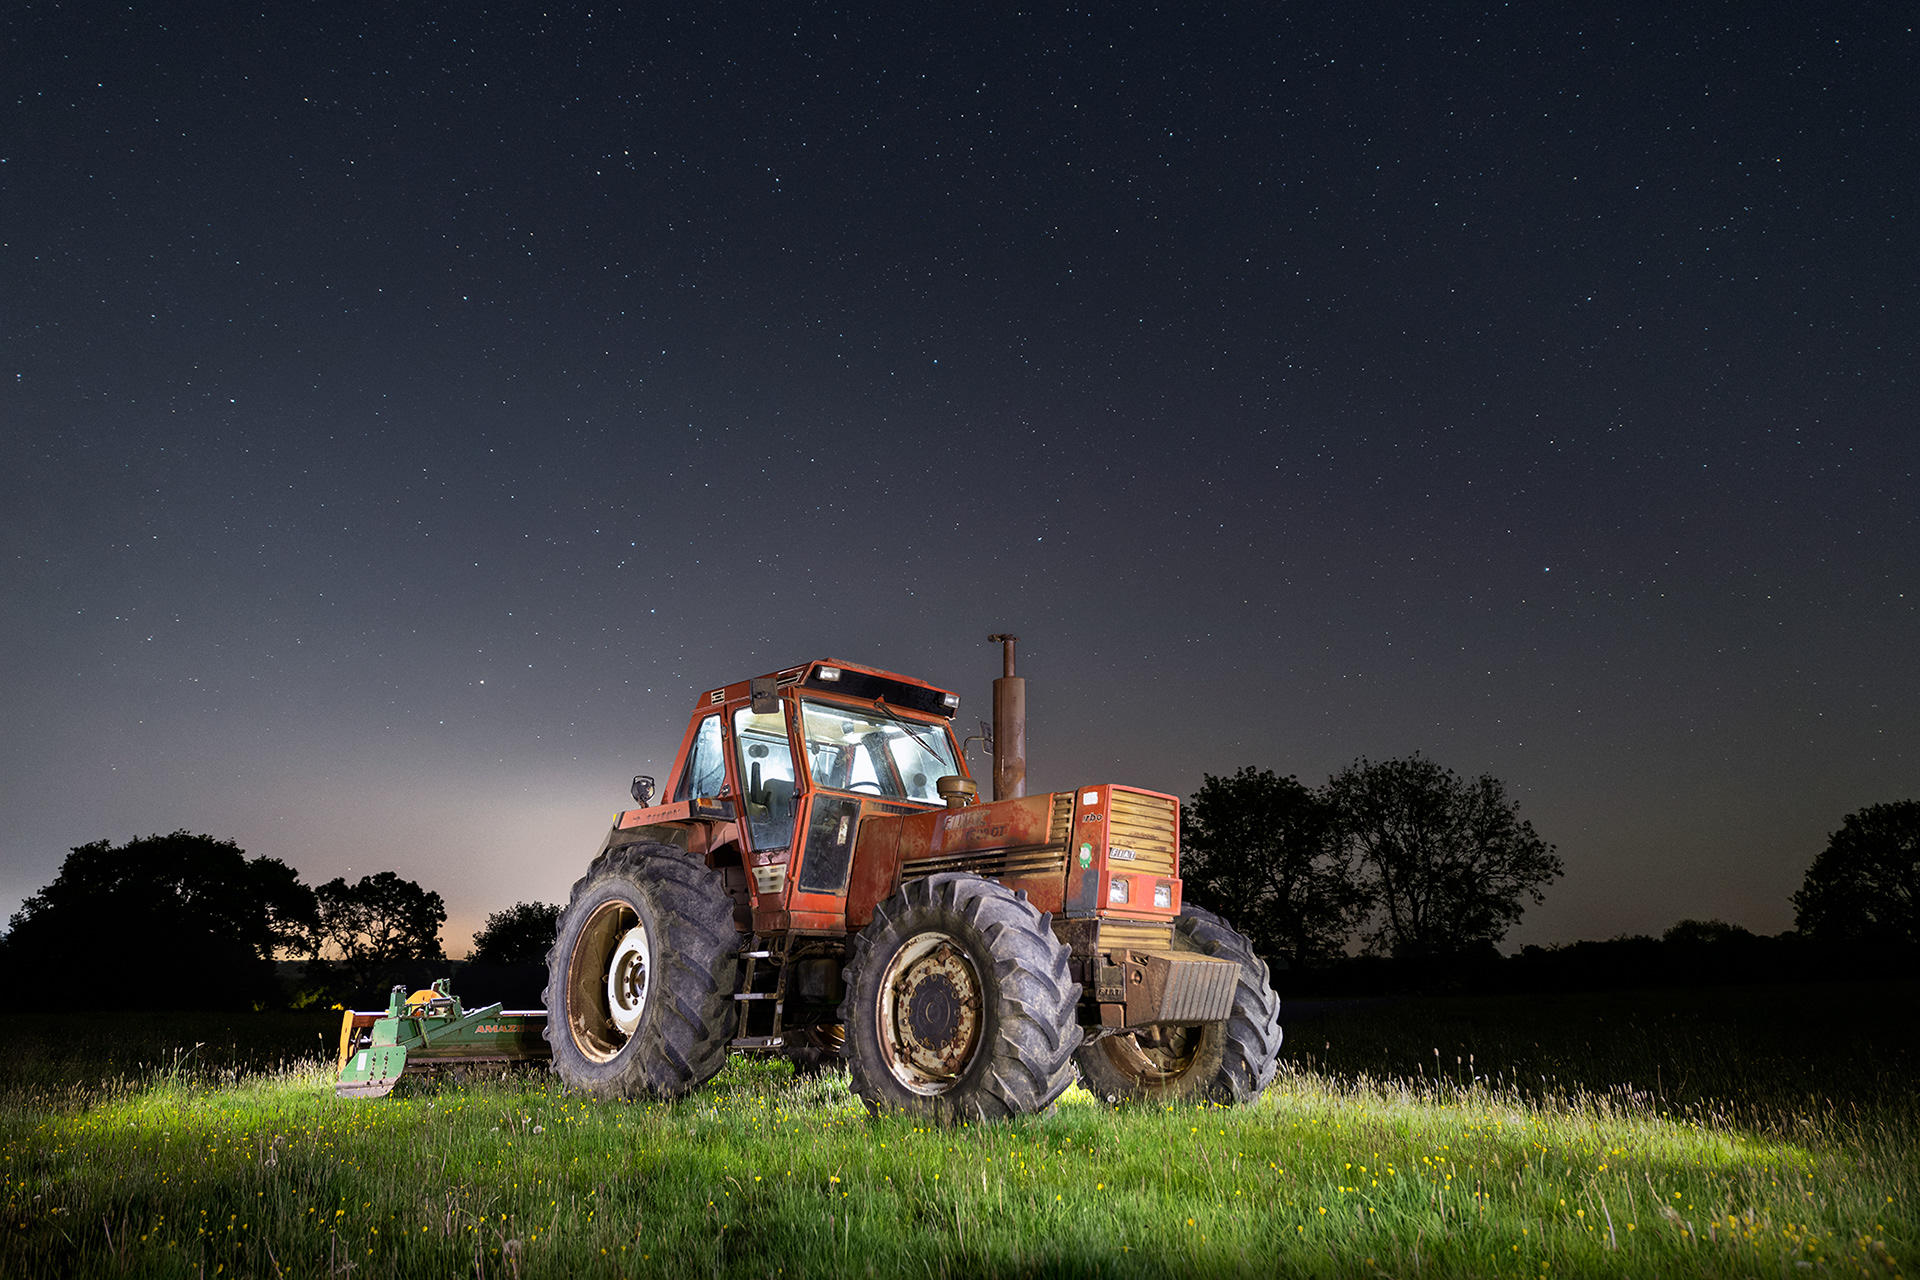
Red Tractor at Night....
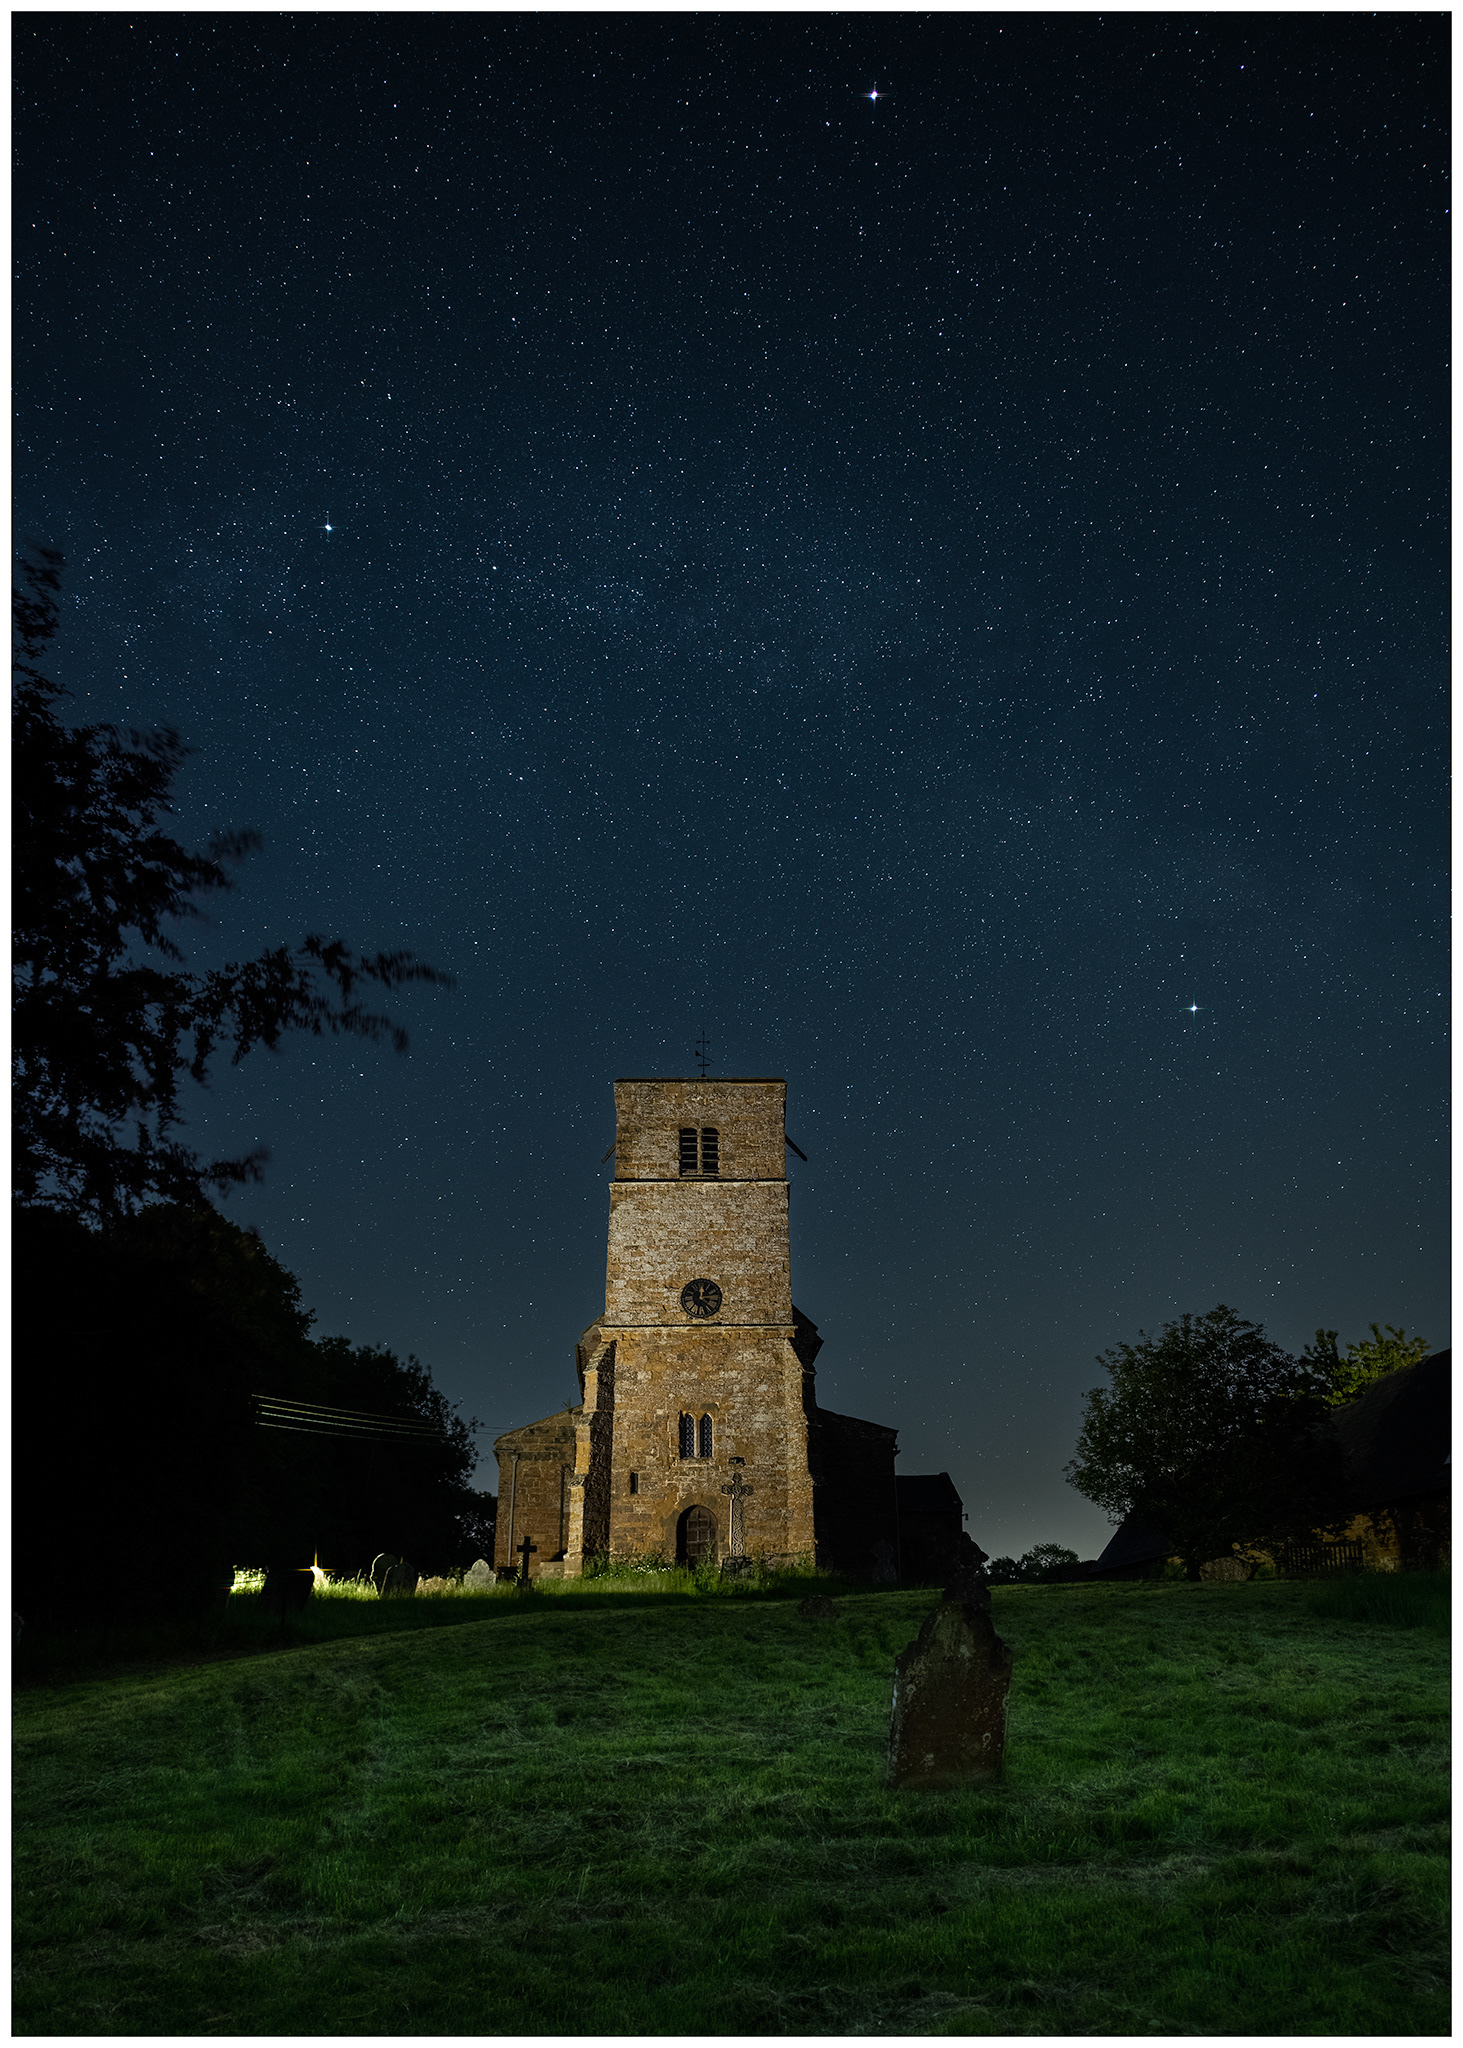
Parish Church
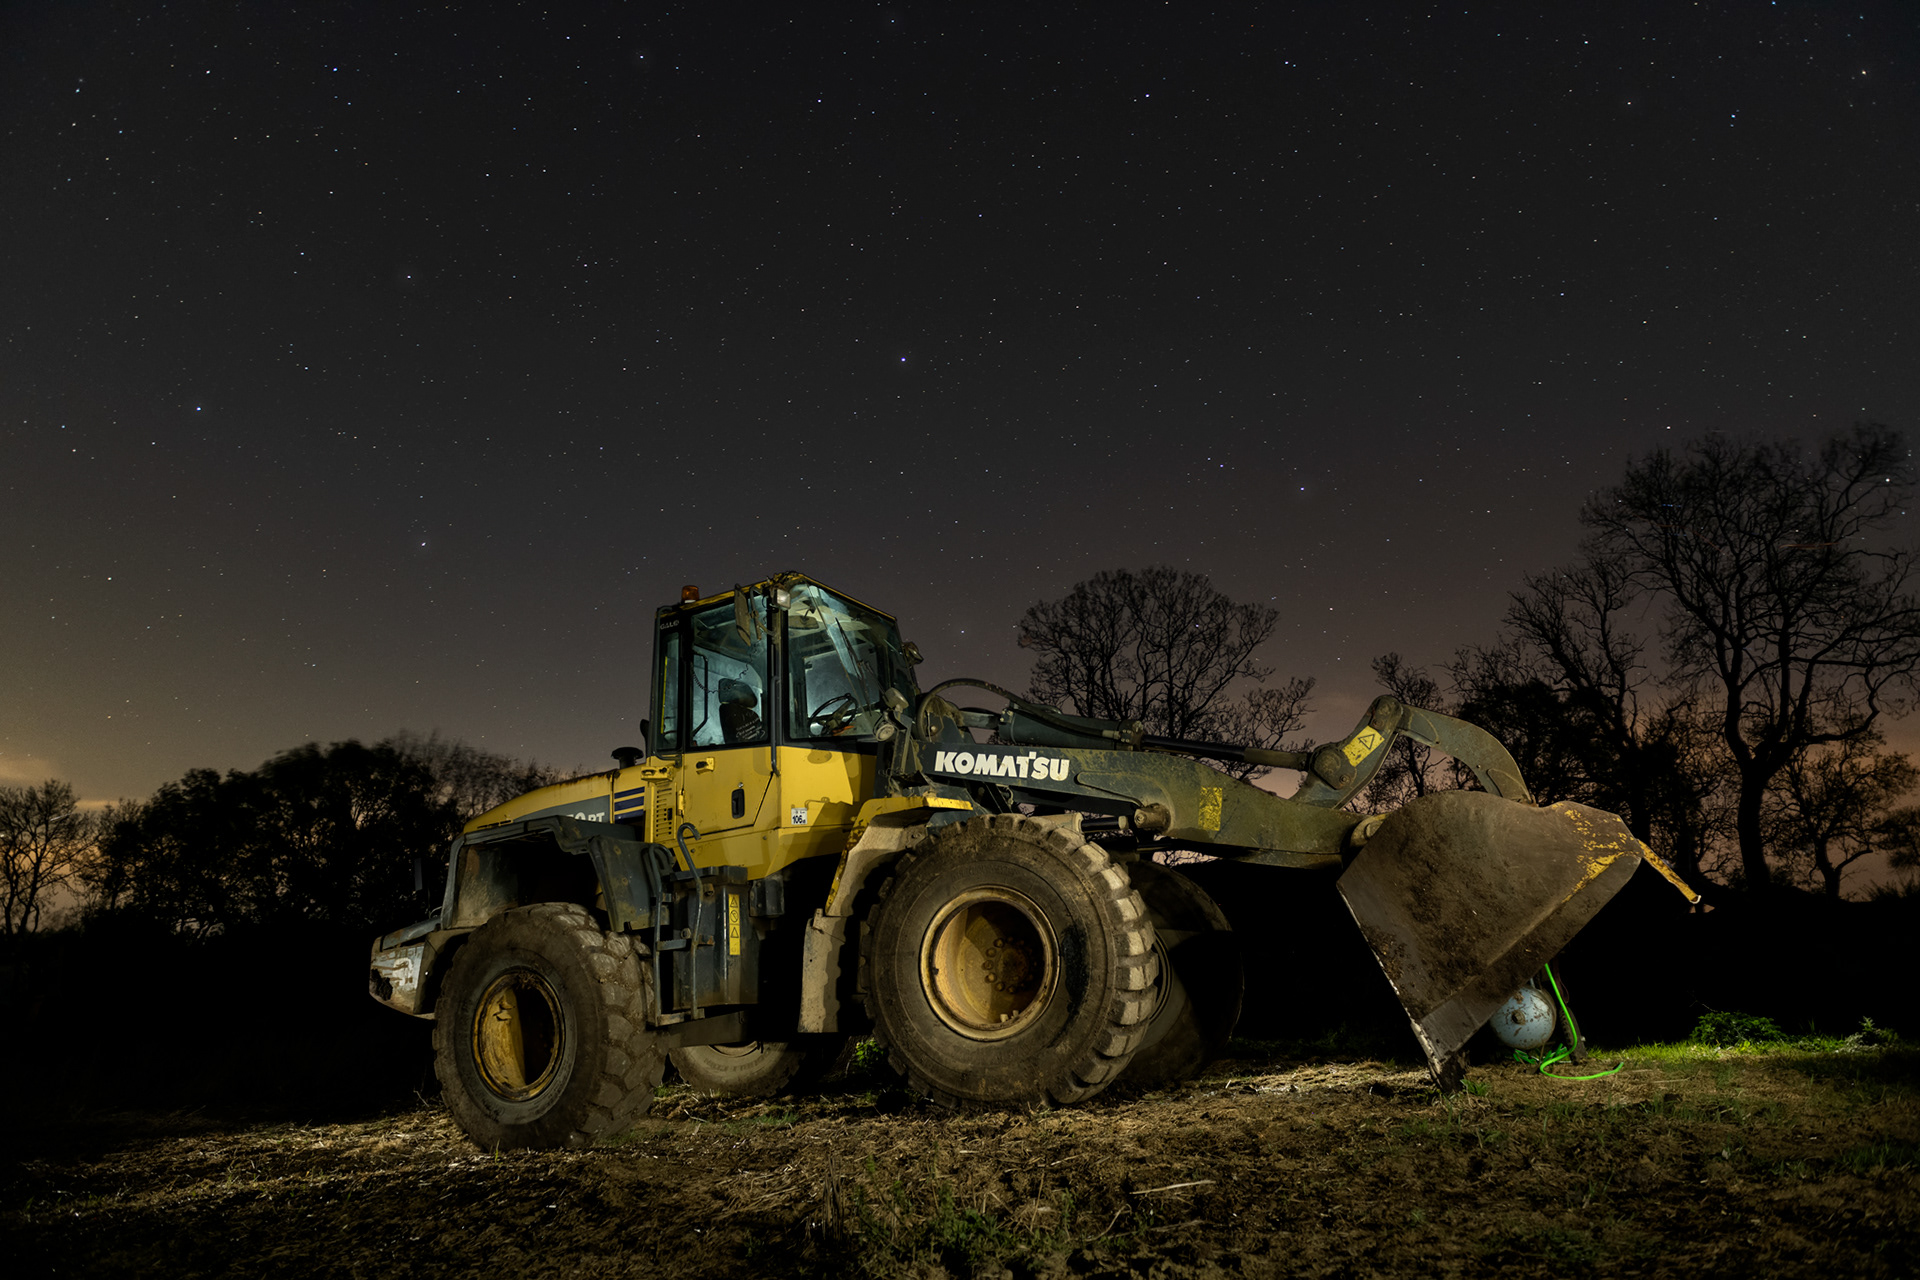
Komatsu
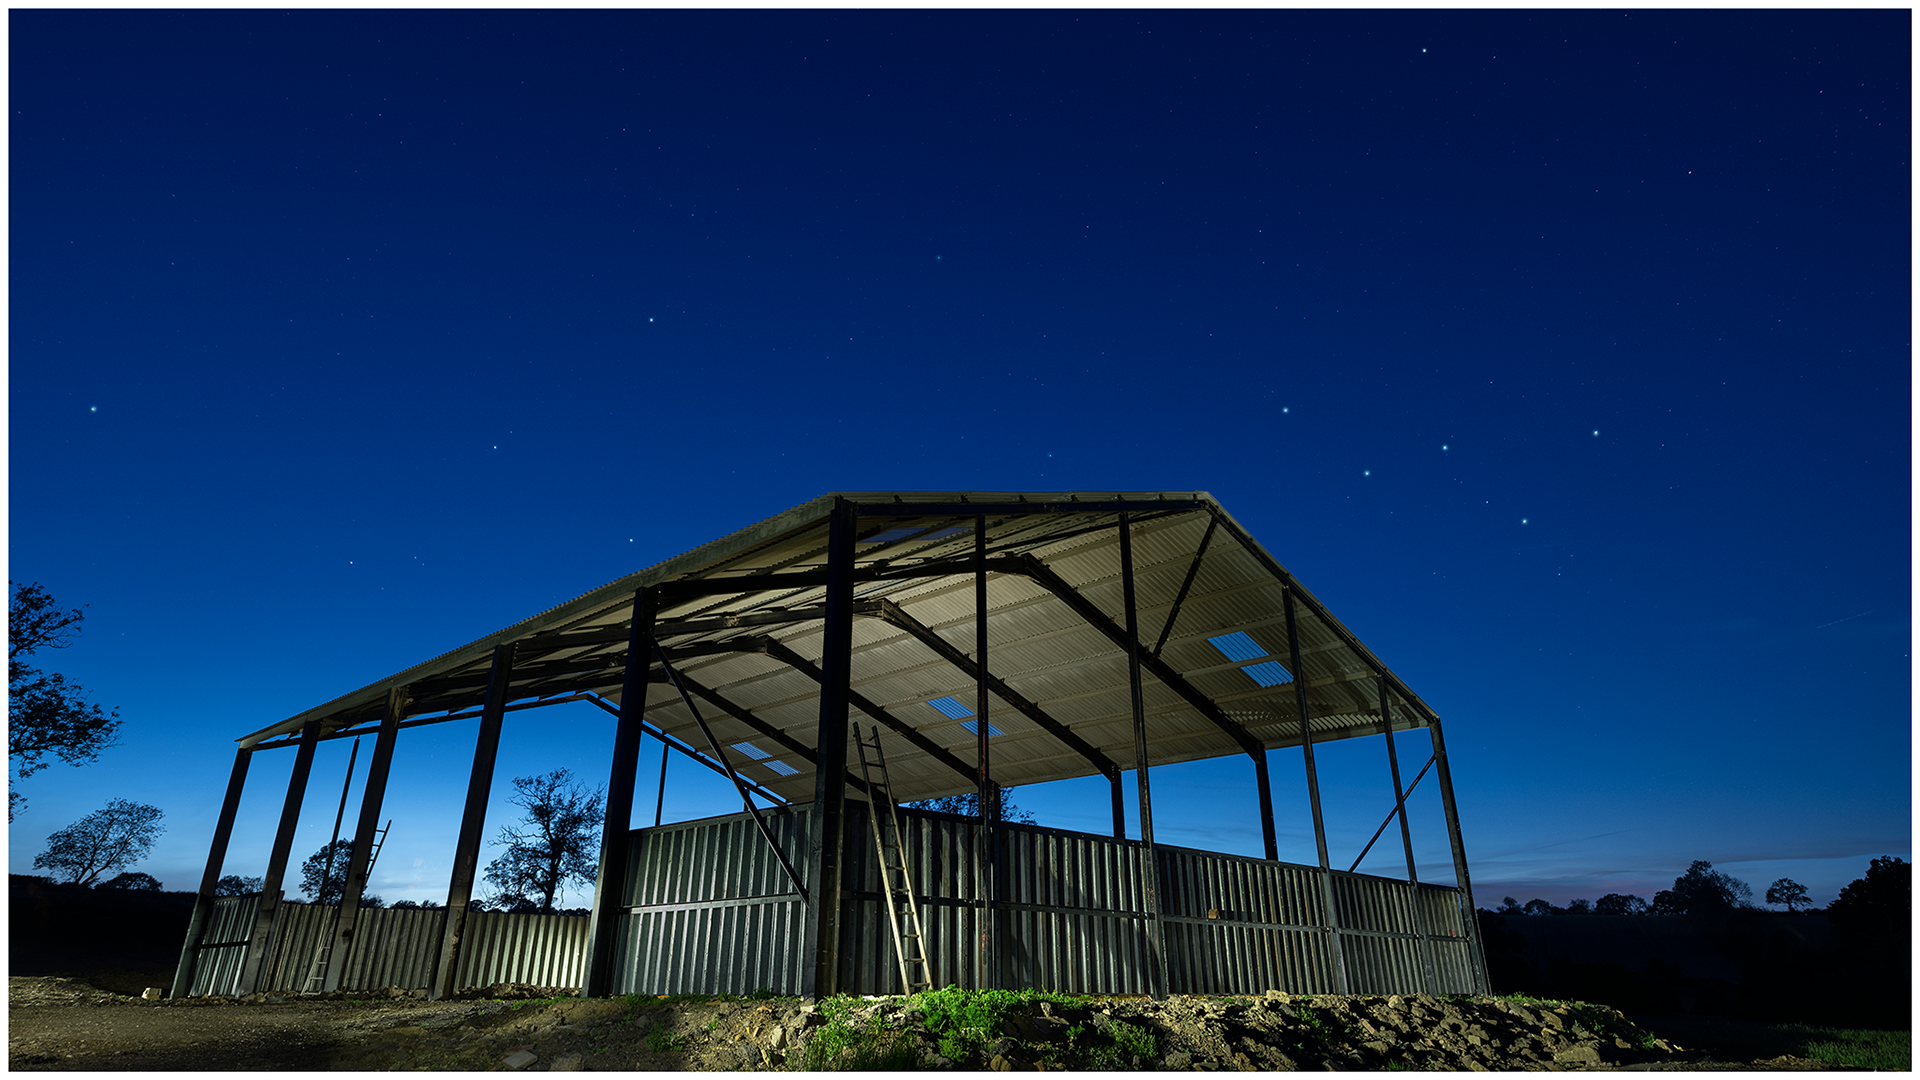
Barn and Cassiopeia

The Old Lady of Millennium Way
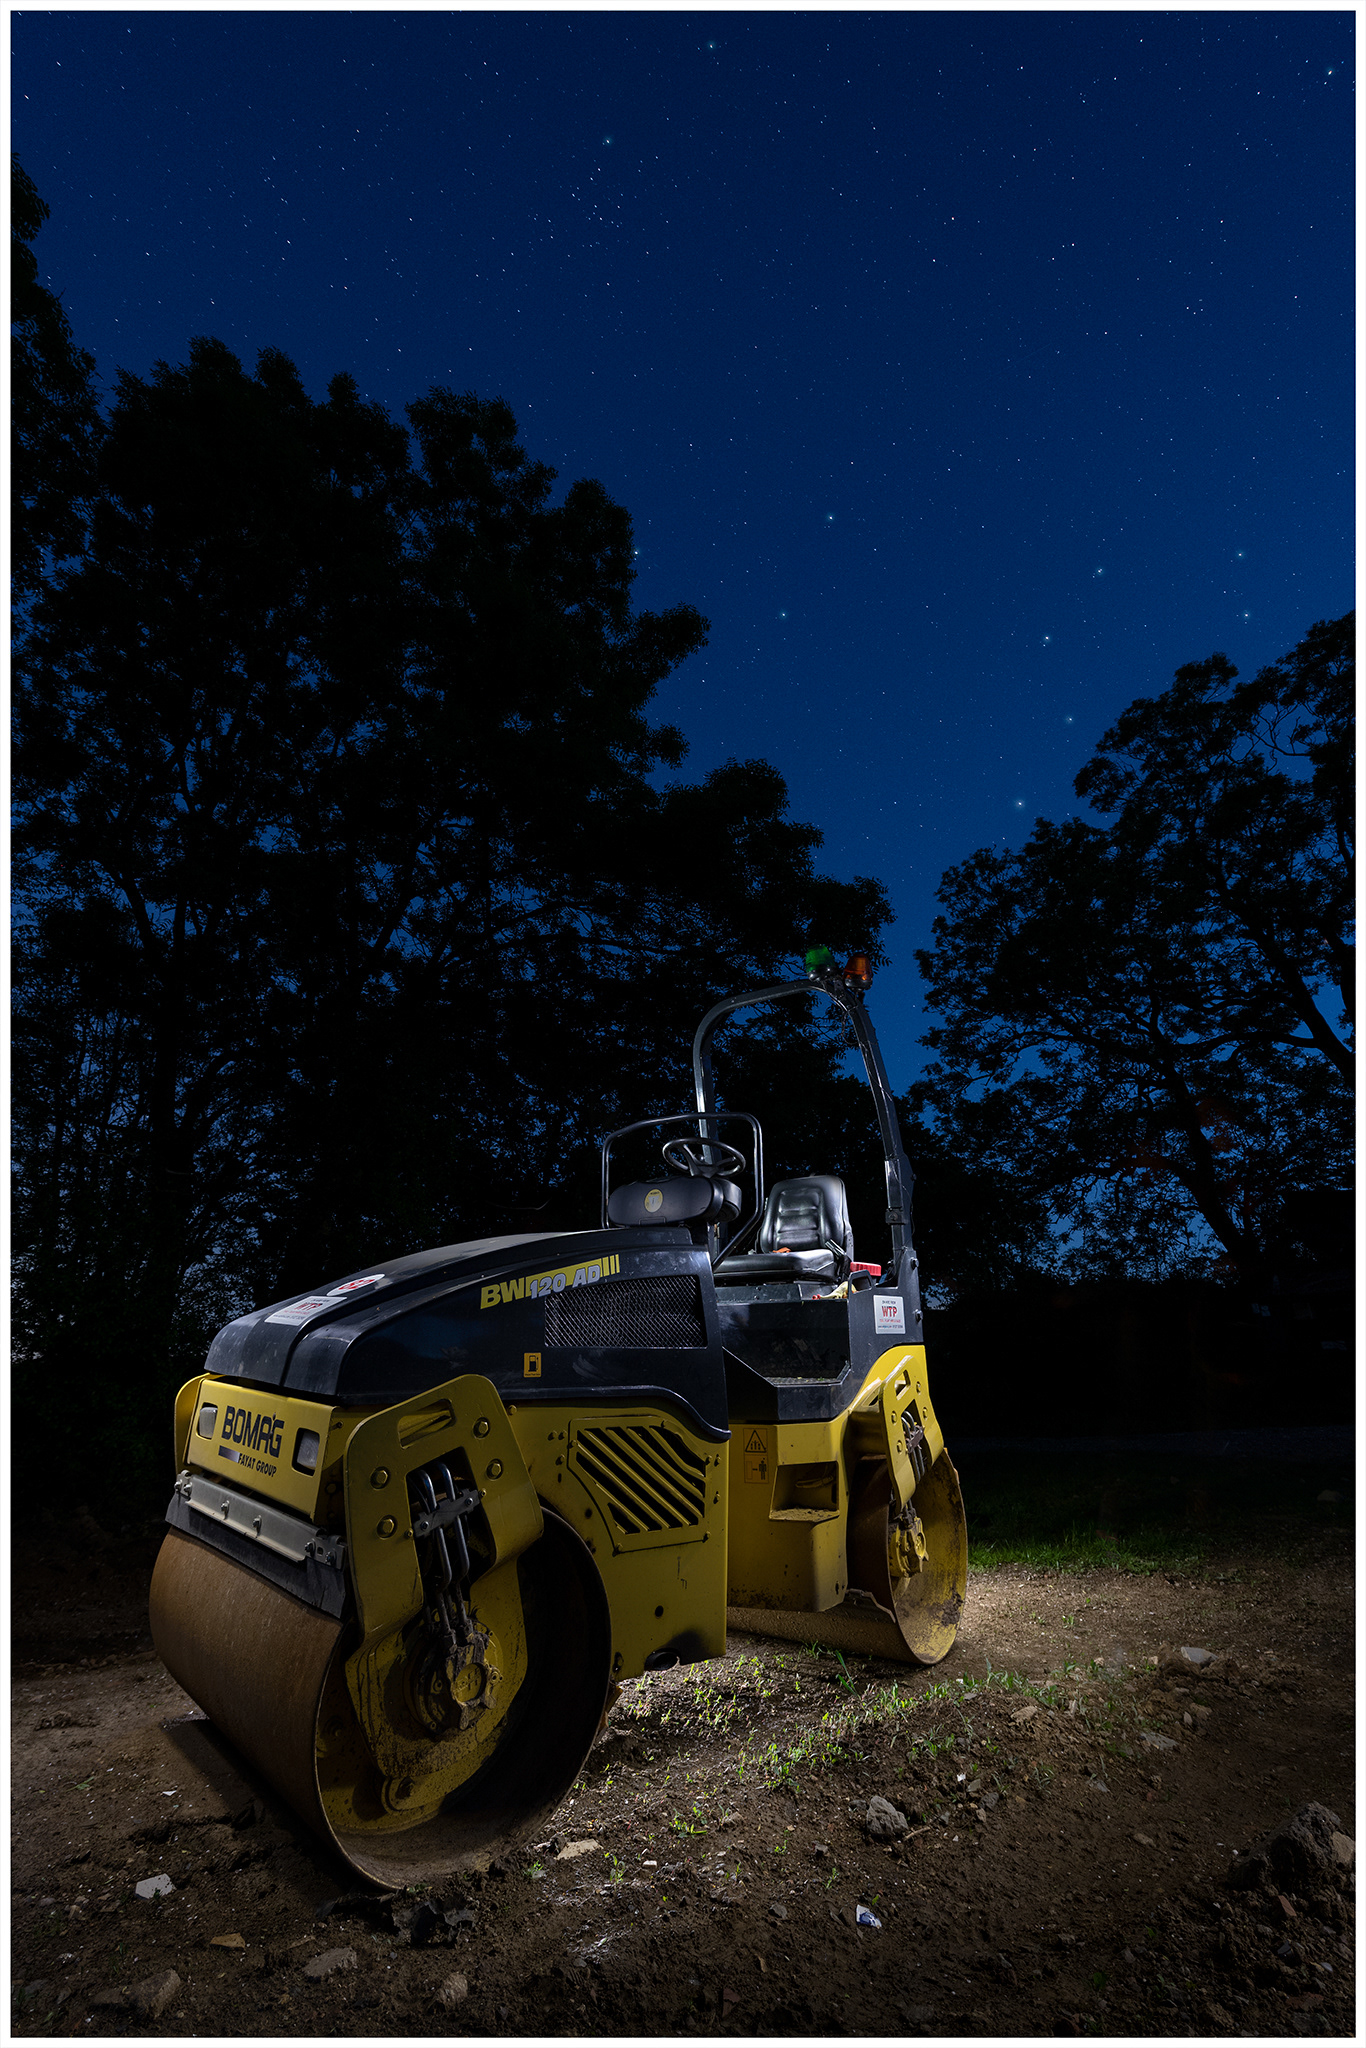
BOMAG under Leo
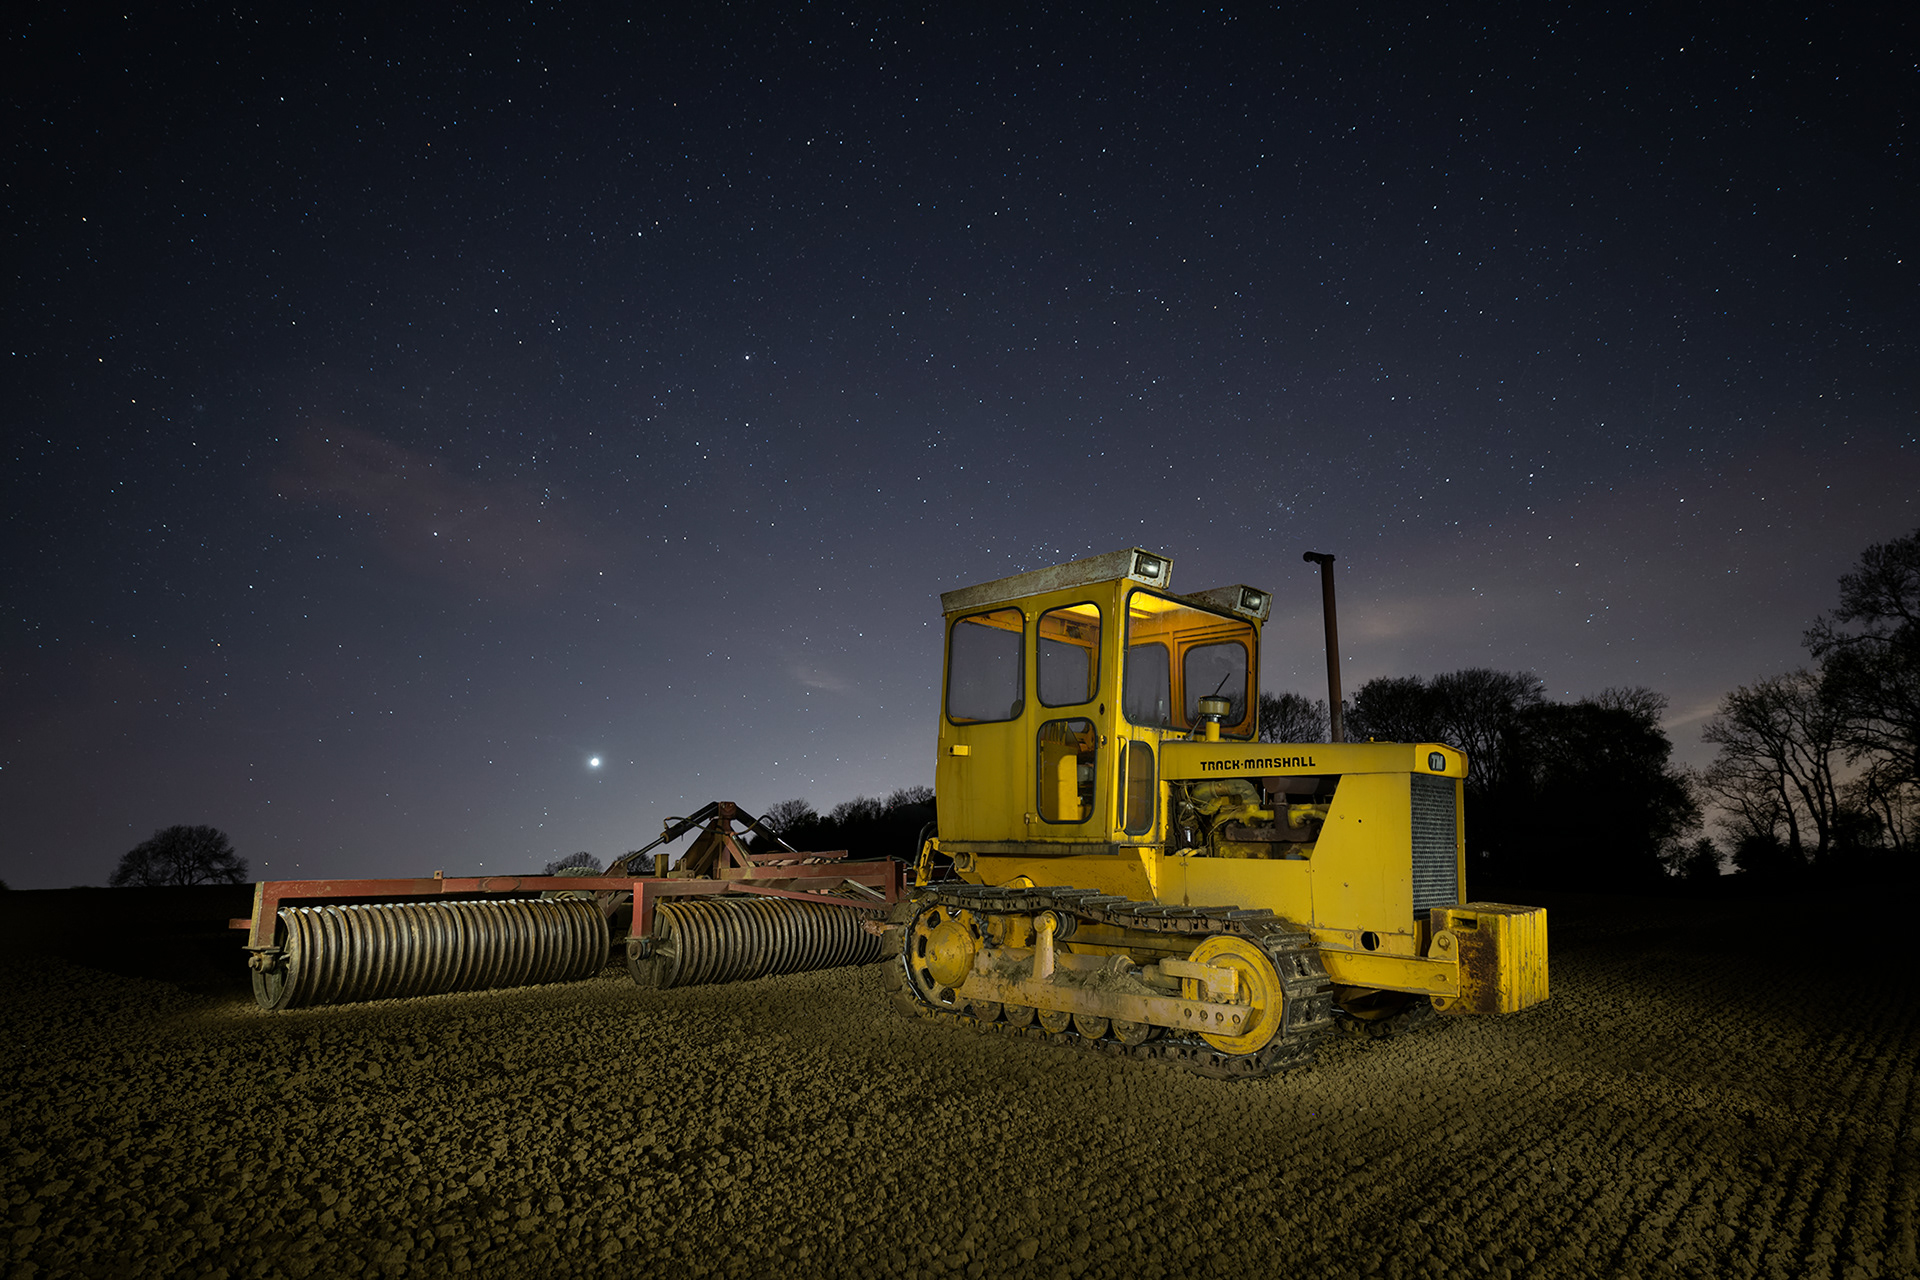
Under Venus and Auriga
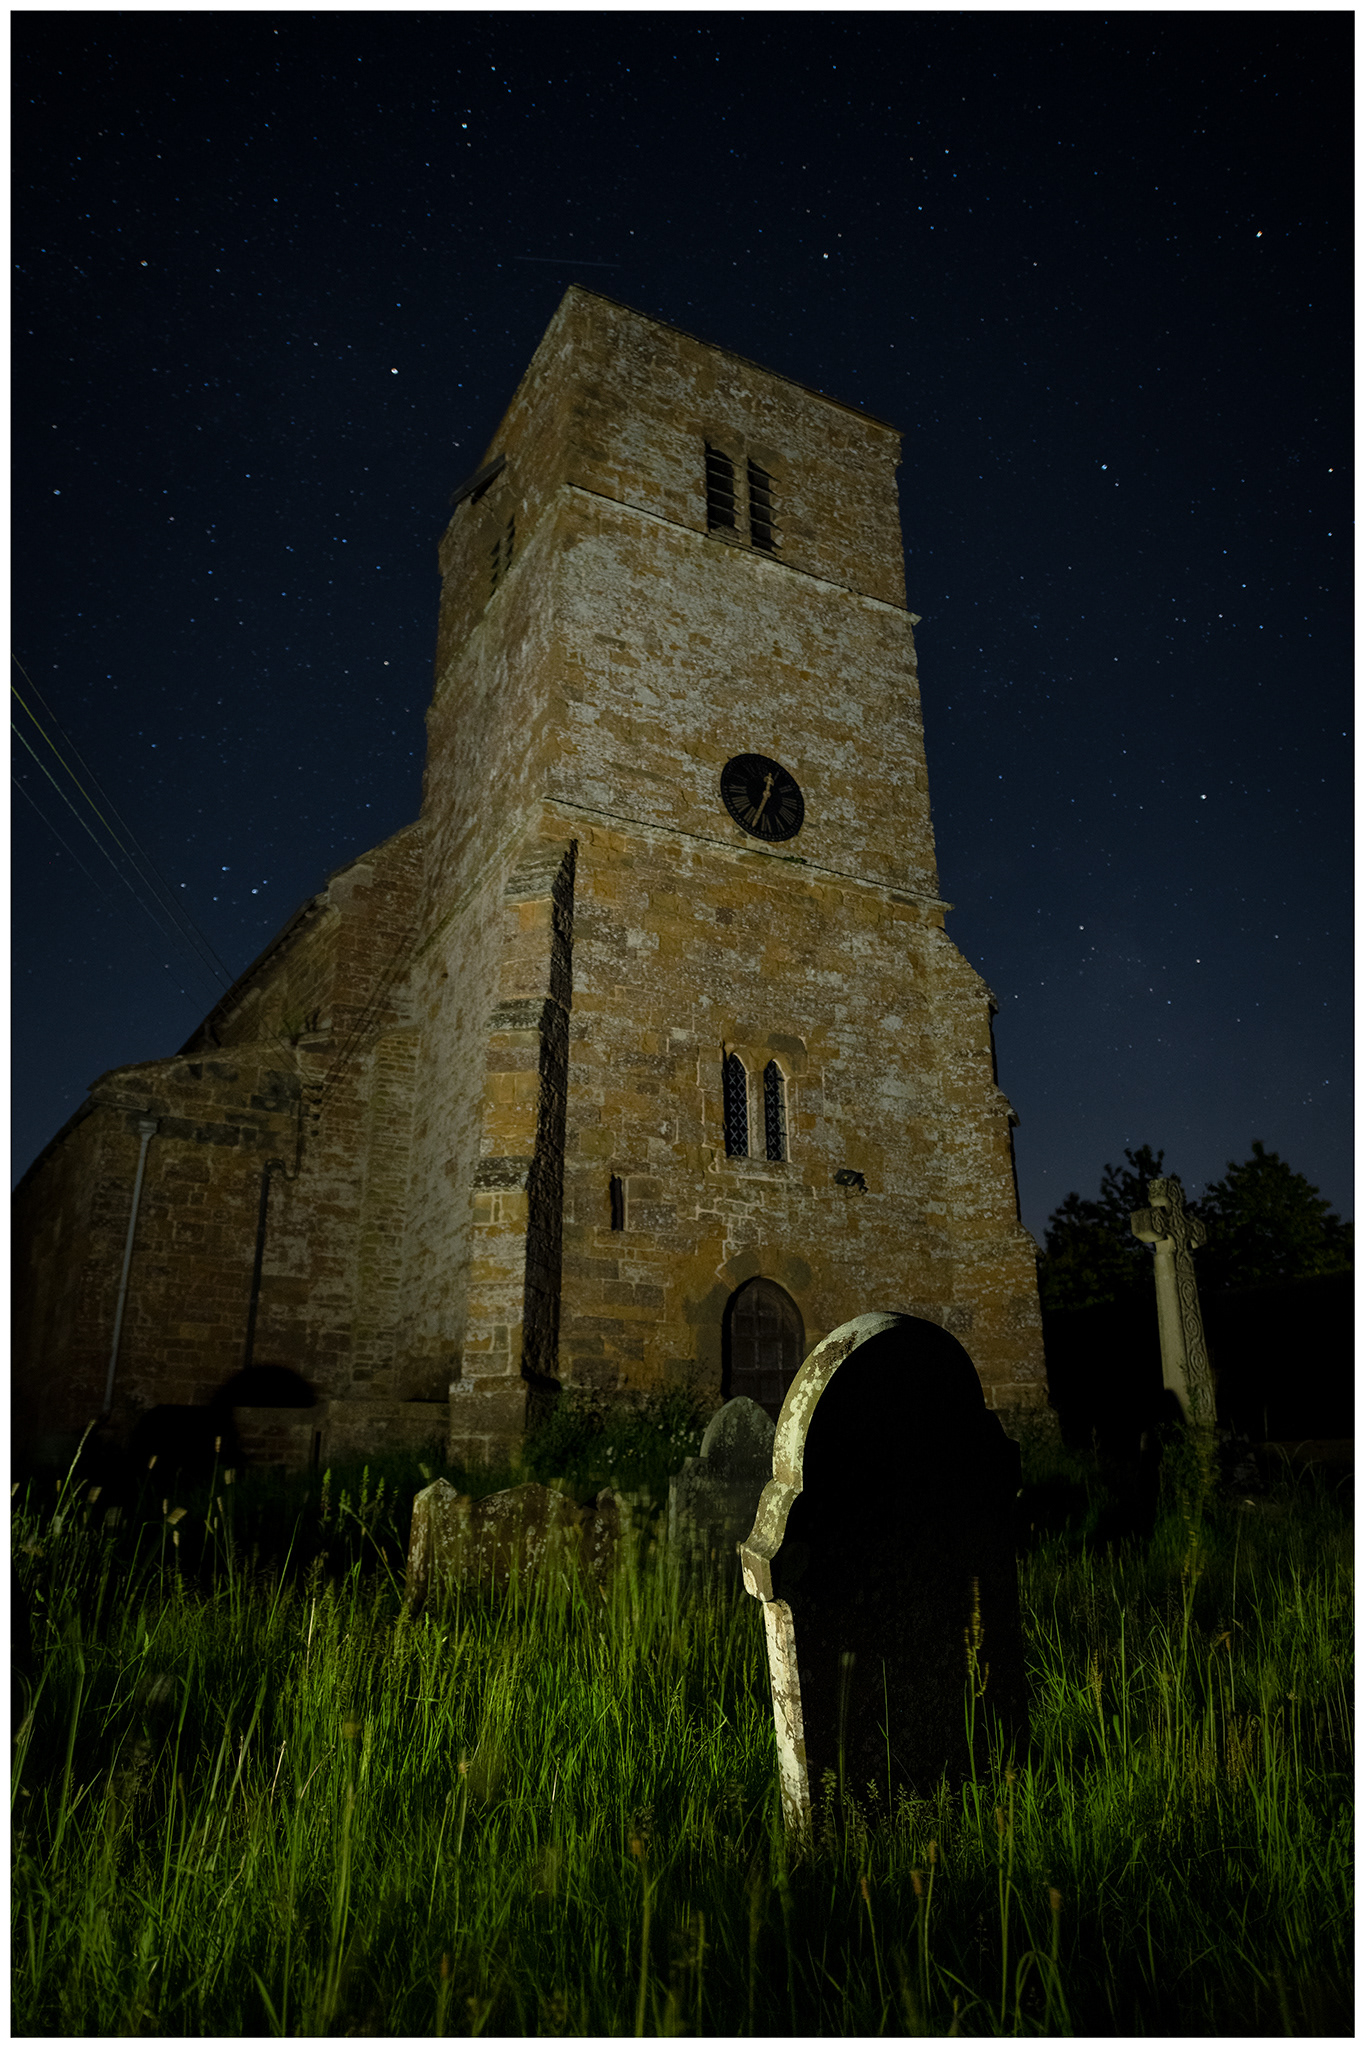
Parish Church
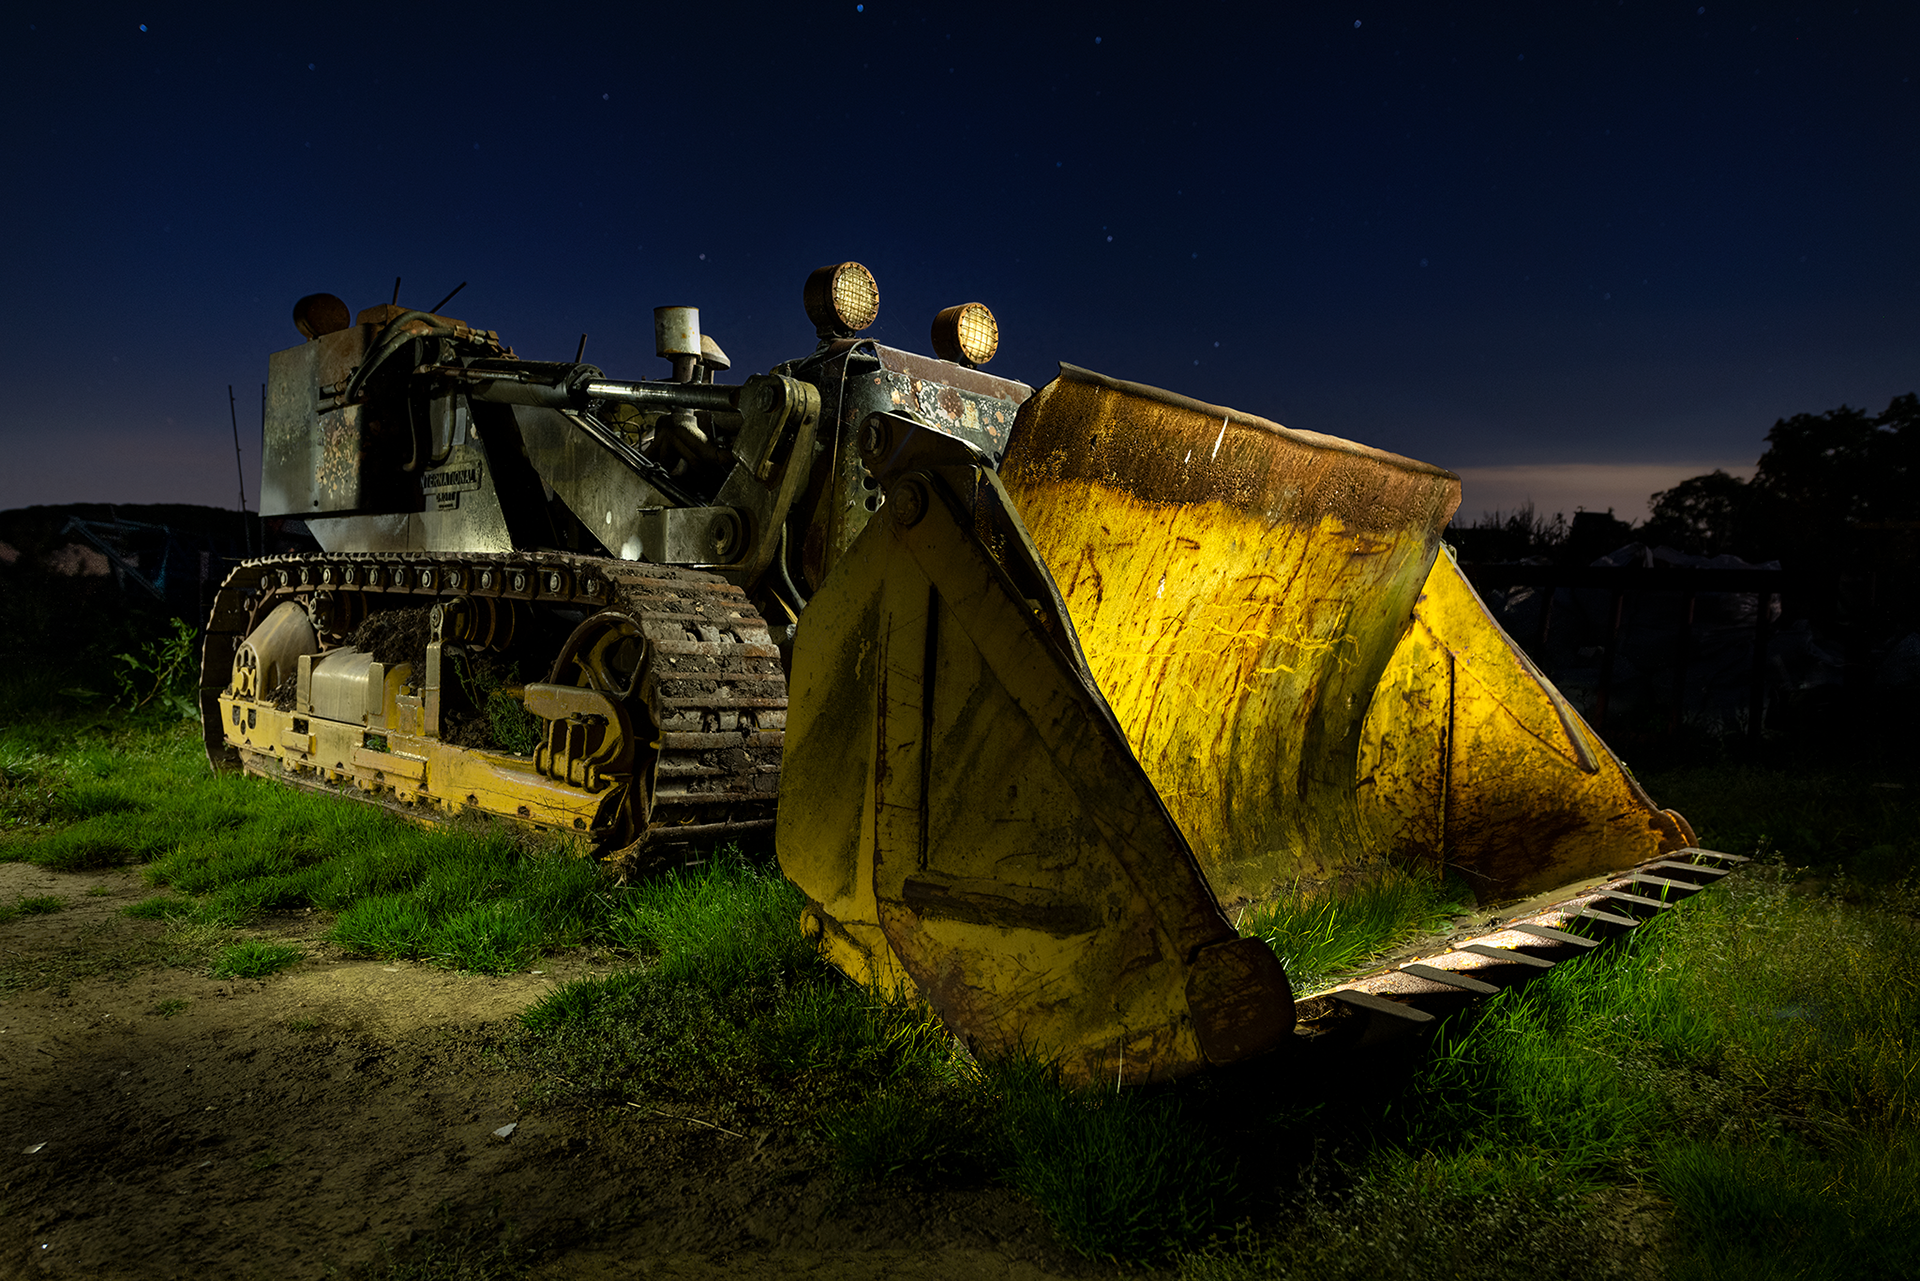
Gold Digger

Strawberry Moon and Tractor
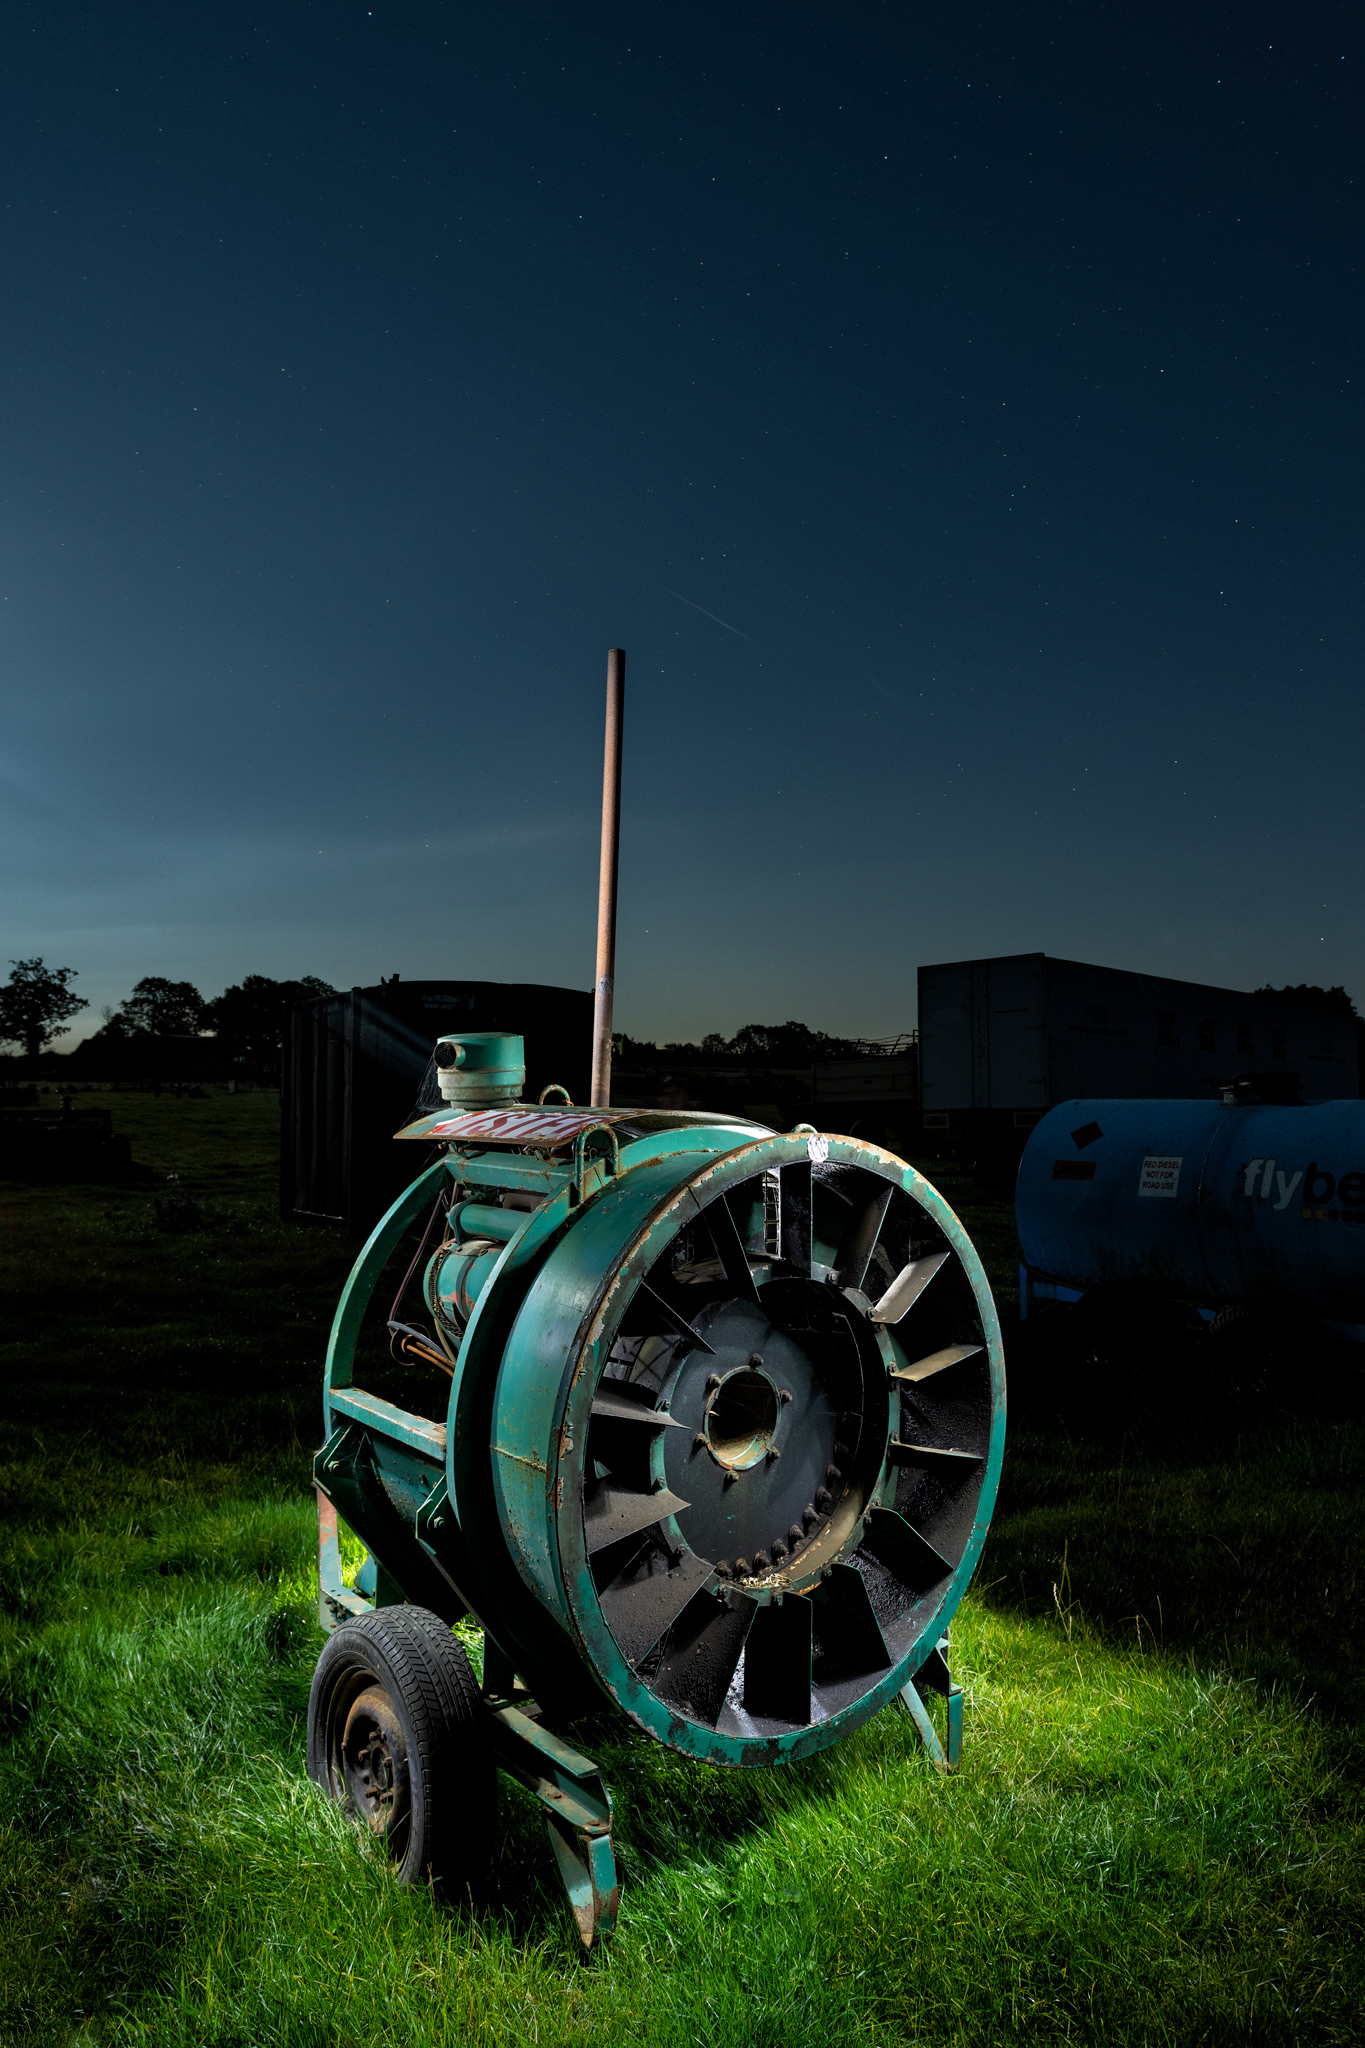
Portable Grain Dryer
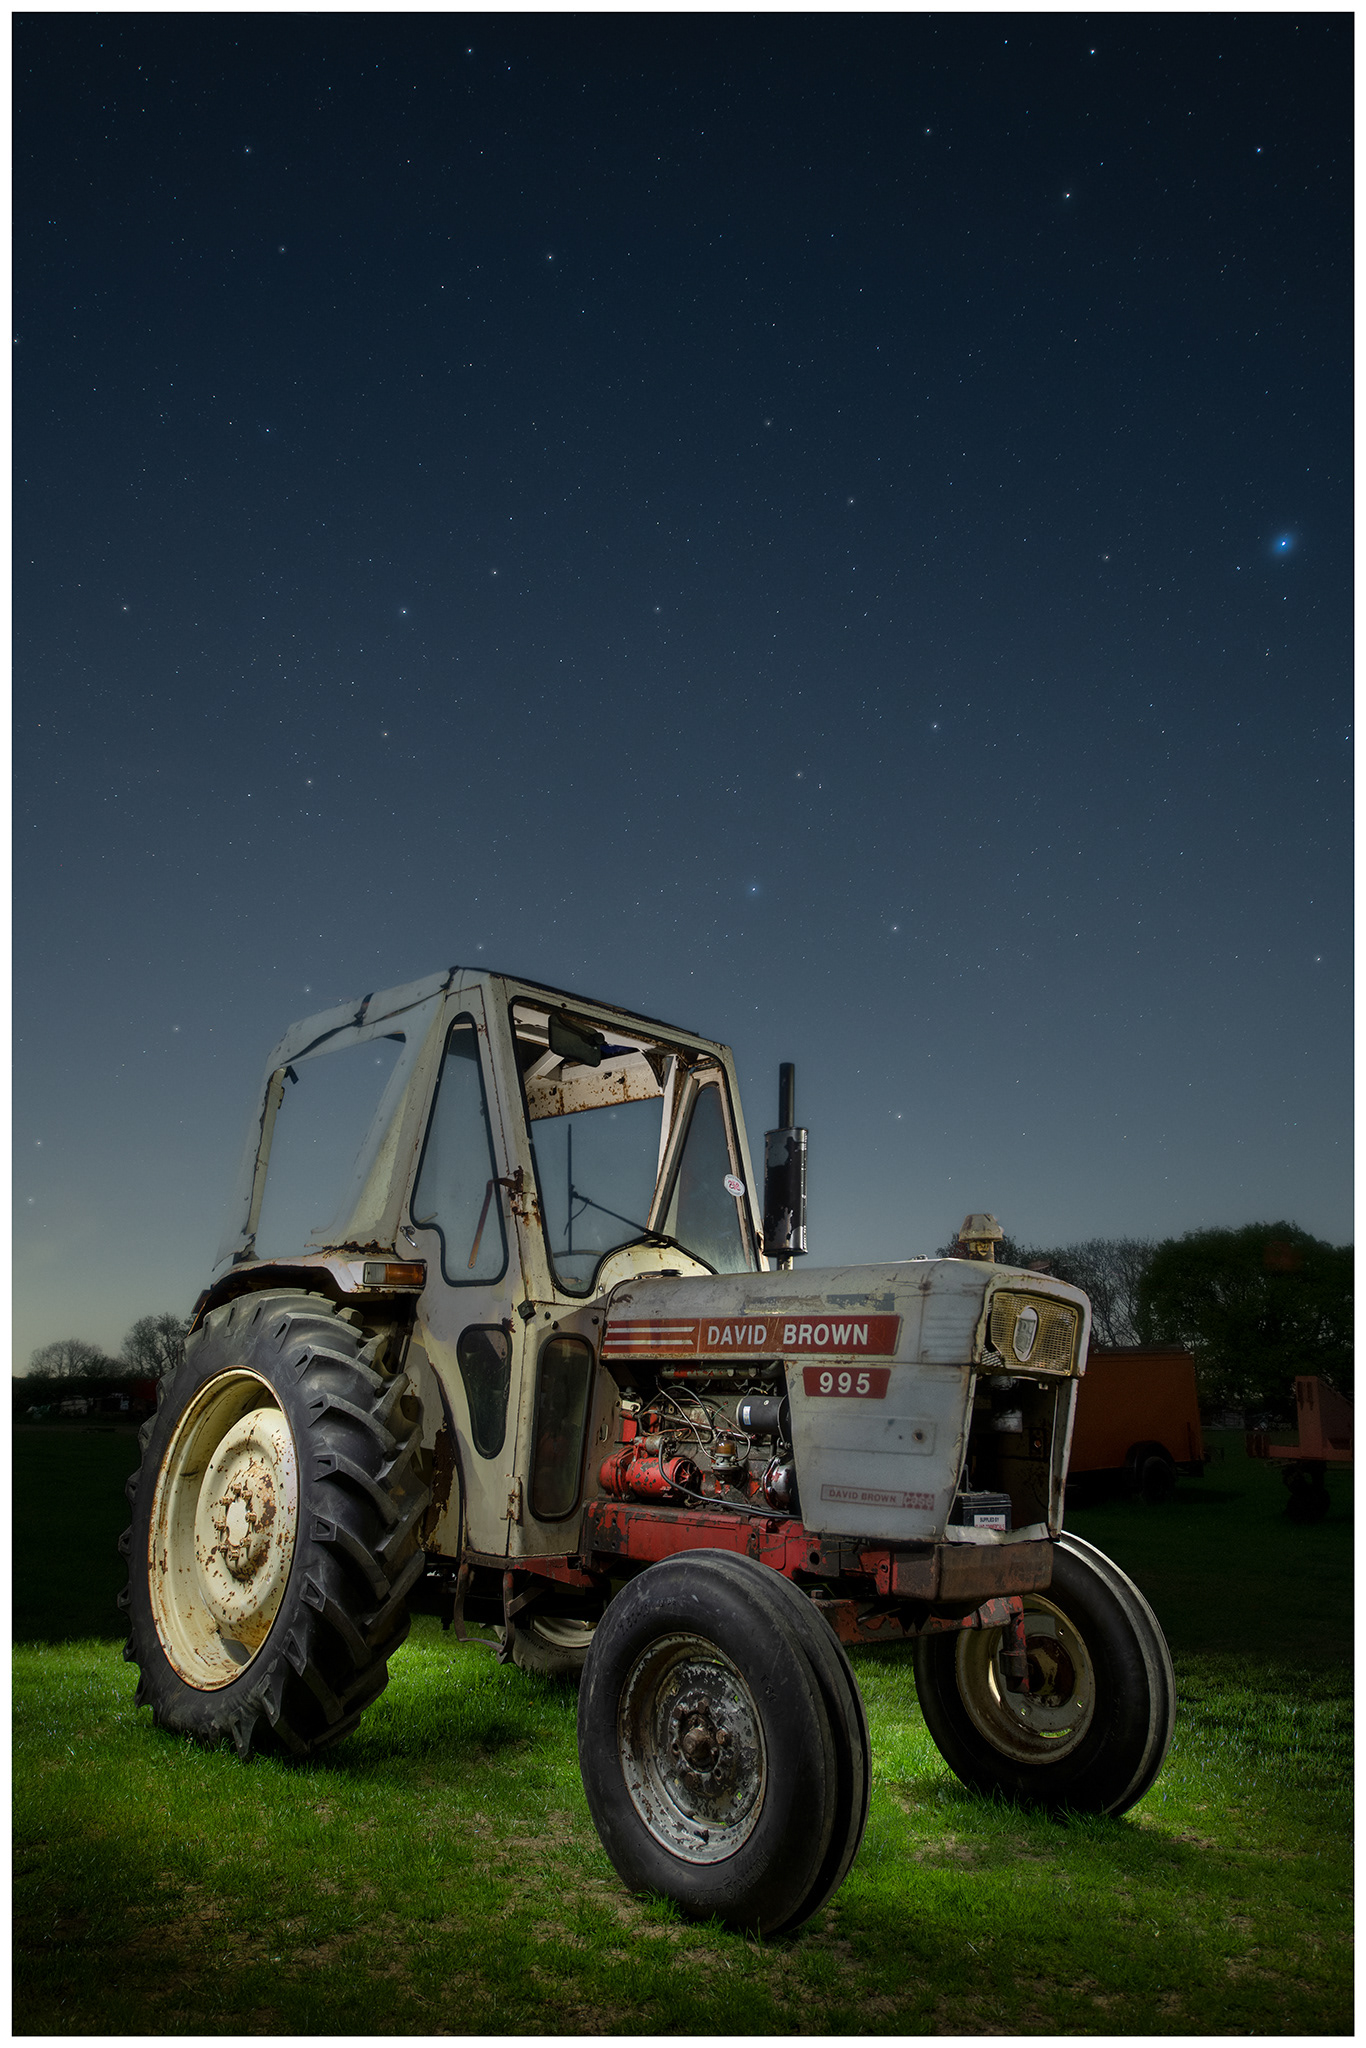
David Brown
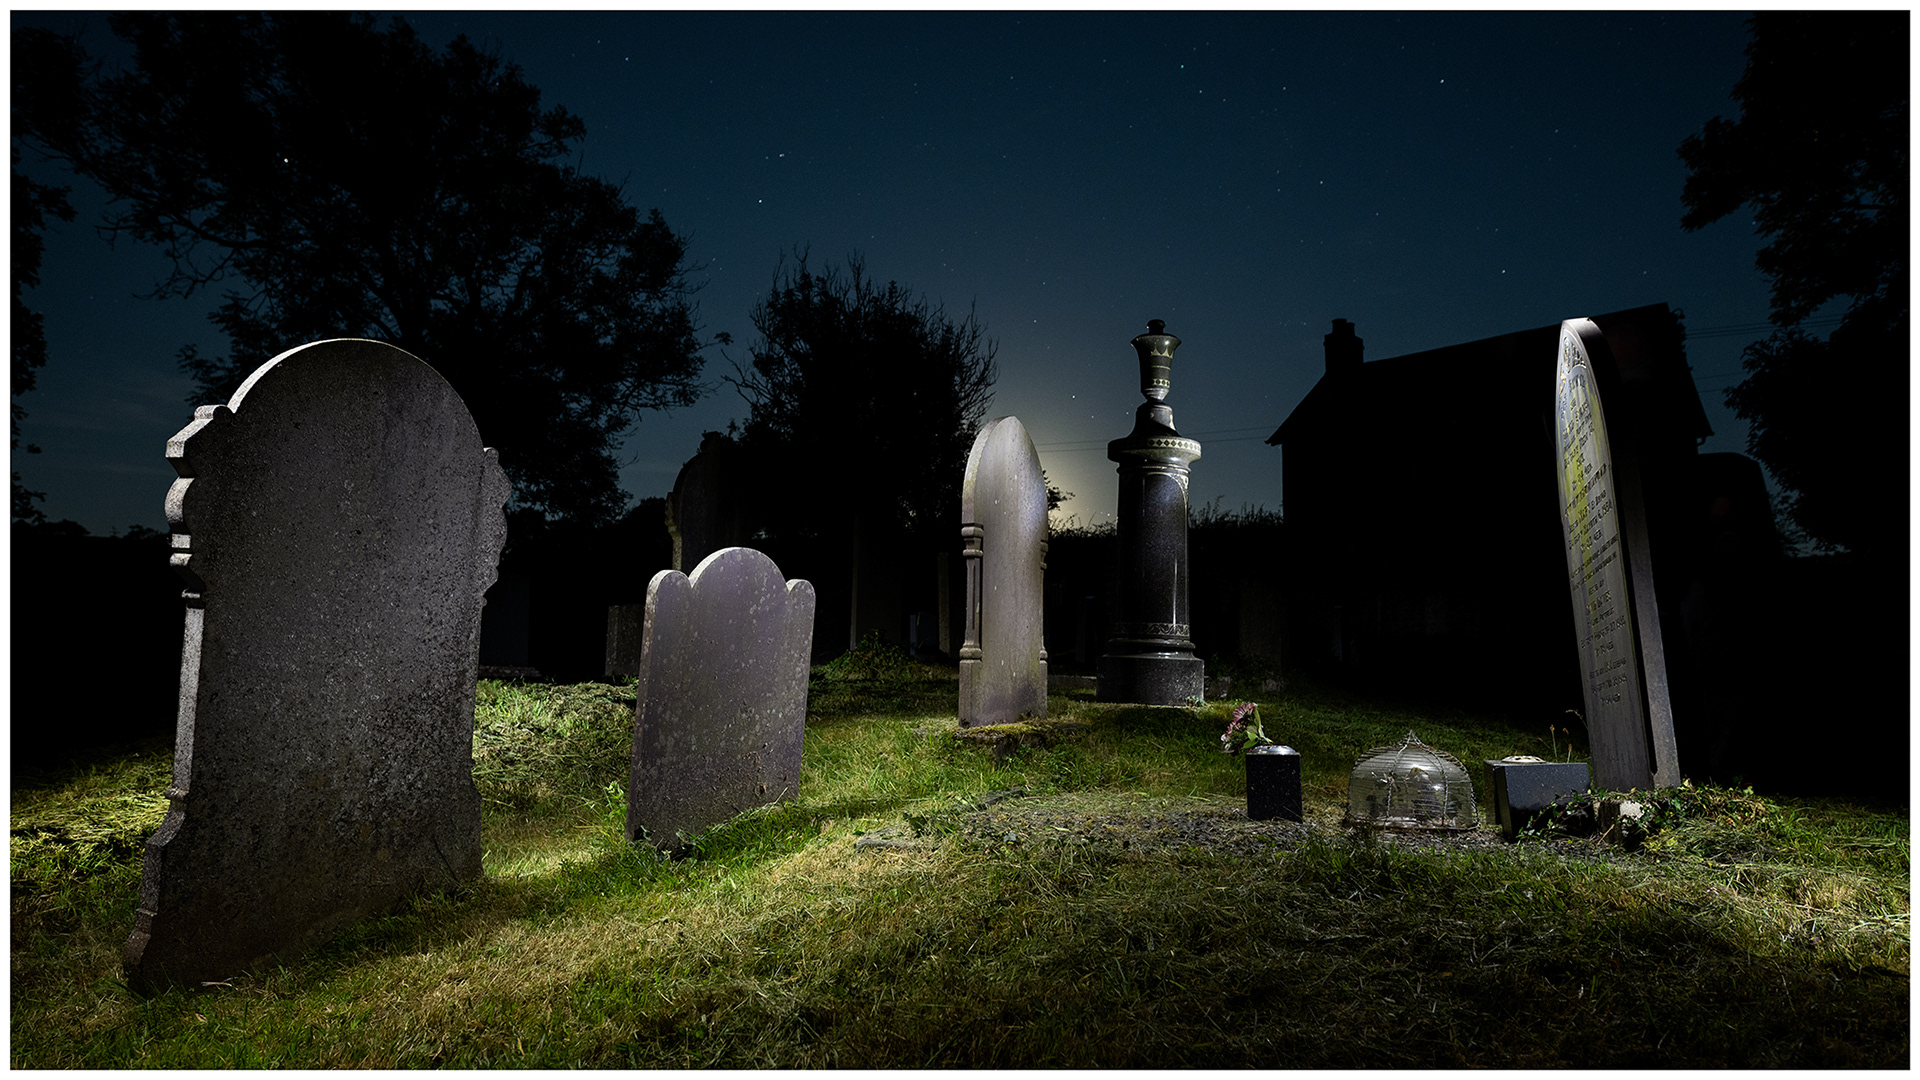
Churchyard at Midnight

Digging for Gold
All of the images above were captured using the same process: one exposure for the night sky, followed by several exposures taken while I walk around the subject with my lightpainting torch.
My camera's White Balance of 3850K has resulted in a deep blue night sky which I like (but you may not, and this is fine), so I am happy with the sky. Some nightscapers set their WB to Daylight, or to Tungsten, but I prefer to set it to 3850K, and I never change from this........unless I am using flash to light the foreground (more on this later).
I have a colour correcting gel on the front of my LED torch, as the naked LED is too harsh and "cold" in colour, and this then takes on a sickly green colour when the 3850K White Balance is factored in. The CTO (colour temperature orange) gel corrects this tint and any surplus is very easily corrected in the edit with a small addition of magenta with the tint slider in post processing. Again, it is important to stress that all this is a matter of personal taste. What works for me may not work for you and your own artistic preferences. It will also depend upon the colour temperature of your torch. You may find that your torch gives exactly the temperature you want, requiring no colour correction. Remember, there is no right or wrong.
The exposure for the night sky is typically 13 seconds at f3.5 (on an f2.8 lens) at ISO 2000. Obviously these setting will change, dependent upon the conditions (just as for daylight photography), but this is the "ball park" set up I use to get started. Focusing is performed manually by first finding a star to focus on. This is not as straight forward as it sounds. With the camera settings as above, I then "hunt" for a star, using the live view facility on the camera, zoomed in to 100%. This takes practice and patience is needed (not a strong point of mine). Rocking the focus ring back and forth in ever decreasing amounts will eventually deliver the point of light as a tiny, sharp "dot", and the lens is focused.
In all the images above, the night sky exposure is a single one. If I am really keen to keep noise to a minimum, then I may take several exposures of the night sky (at least 10) so I can stack them in Starry Landscape Stacker (for Mac) later.
Once I am happy with the night sky exposure(s), I will then start the lightpainting. The first thing to do is to re-focus the lens on the subject itself. Then, stop down the aperture to f5, and set the ISO to 500. I use an external intervalometer for actually taking the exposures, and I either set the shutter speed to 13 seconds, or 10 seconds. The length of time you keep the shutter open for this stage is only to give you enough time to make each exposure, as you light the subject from different angles. Typically, I'll take around 10 exposures as I walk around the subject, lighting it with my torch from various angles, and also throwing some light on the foreground.